World Pangolin Day

World Pangolin Day

Today is World Pangolin Day. If you’re not sure what that means, I’ll give you an ultra brief rundown. This is a pangolin:

This is a pangolin. Super cute. Photo courtesy of http://savepangolins.org

This is a pangolin. Super cute. Photo courtesy of http://savepangolins.org


According to Wikipedia, a pangolin is a mammal that has large keratin scales covering its skin, and is the only known mammal with this adaptation. It is found naturally in tropical regions throughout Africa and Asia. The name pangolin comes from the Malay word pengguling, meaning “something that rolls up”. It is the most trafficked mammal in the world.

People in Southeast Asia love harvesting these little guys, often illegally, and selling all their bits , often illegally, to people in China primarily, as well as other countries. At the rate their habitat is being destroyed, and they are being killed, the pangolin will be extinct in just a few years. Which means while we’ve been able to enjoy their existence and the cool diversity they bring to our world, our kid’s world will be distinctly lacking in diversity cause they won’t have pangolins. Personally I don’t want to live in a world that doesn’t have cool animals, such as the pangolin, in it.

So to raise awareness we celebrate World Pangolin Day today!

Click here for 7 ways to celebrate World Pangolin Day today, and every day really.

And you can use these cool hashtags to raise awareness:

Please take the time to appreciate these awesome critters, and everything they offer in terms of wonder and diversity to our cool world. Think of ways that you and your family can help save these and other endangered plants and animals.

Basement Fireproof Caulking

When not trying to save the world, I’m trying to improve the comfort and performance of our house. Today I checked off a chore that had been on my list for a while.

Plumbers, electricians and HVAC installers in my opinion are nice guys but generally can be horrific when it comes to “whole system thinking”. What happens is the electrician comes in and runs wires, or the HVAC guy runs ducts. Then another trade comes in and does their thing. Well in doing their thing, they may inexplicably mess up the work of another trade and in the end you have a bunch of little issues that need to be addressed. For example, there is support blocking that was removed when air ducts went in, or random hole attempts in the foundation, or holes in air ducts where wires go through.

Just like the foam I had to replace / supplement last week, today I had to deal with some air flow issues. There is a large air duct that was created between two first floor joists. Fairly common, the HVAC team tacks up some corrugated like silver board to seal up the space between two joists and “Presto!”, instant air duct. The problem is either before or after someone ran electrical wires through the two joists. So the air duct, which works most efficiently when it’s air tight, has a bunch of holes that allow air to escape. By time the air goes from the furnace to the vent upstairs, it’s lost a lot of its “gusto” which makes the furnace work harder. In fact you want to keep wires out of the ducts altogether because they are an unnecessary obstruction to air flow.

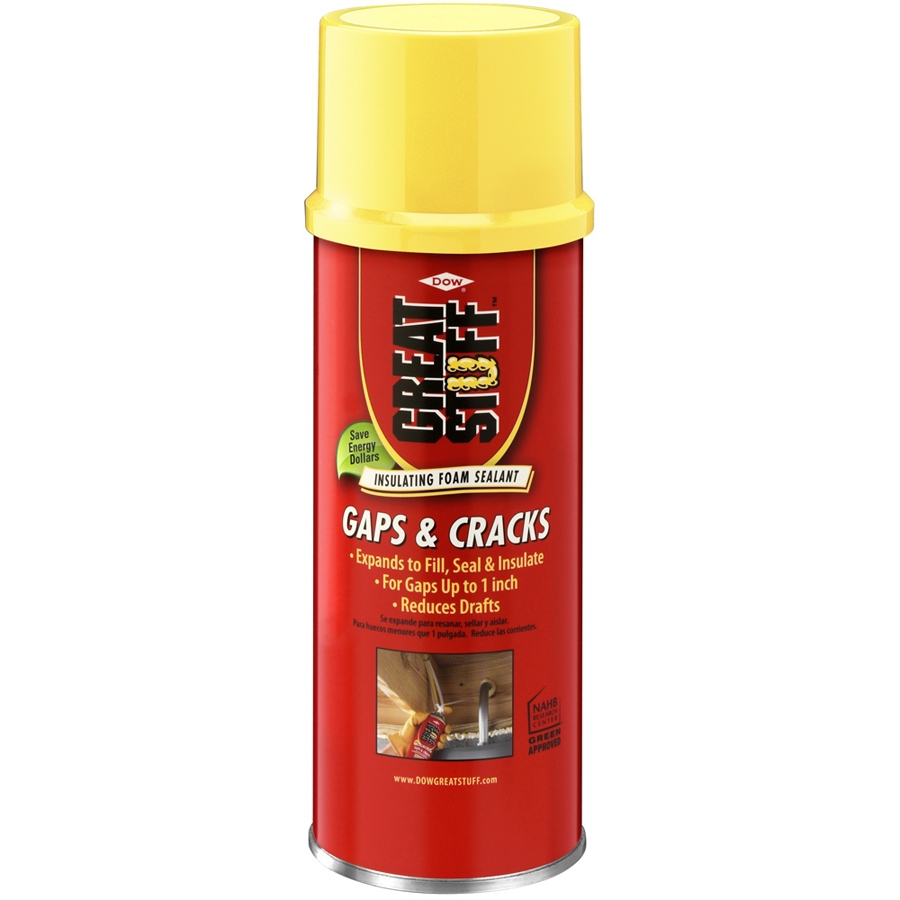
To seal up these holes, finally, I used some fire barrier caulk. Because they’re electrical wires, you have to use fire caulk. The grey gooey stuff was easy to work with and came off of my hands easily when it was clean up time. I ended up using my finger to apply it because it was difficult to reach the holes with the caulk gun; too many pipes and wires in the way.

I even caulked up some gaps at the end of the vent for good measure.

Tip: do all this caulking during construction when you have better access, or ask your tradesmen to do it for you.

Basement

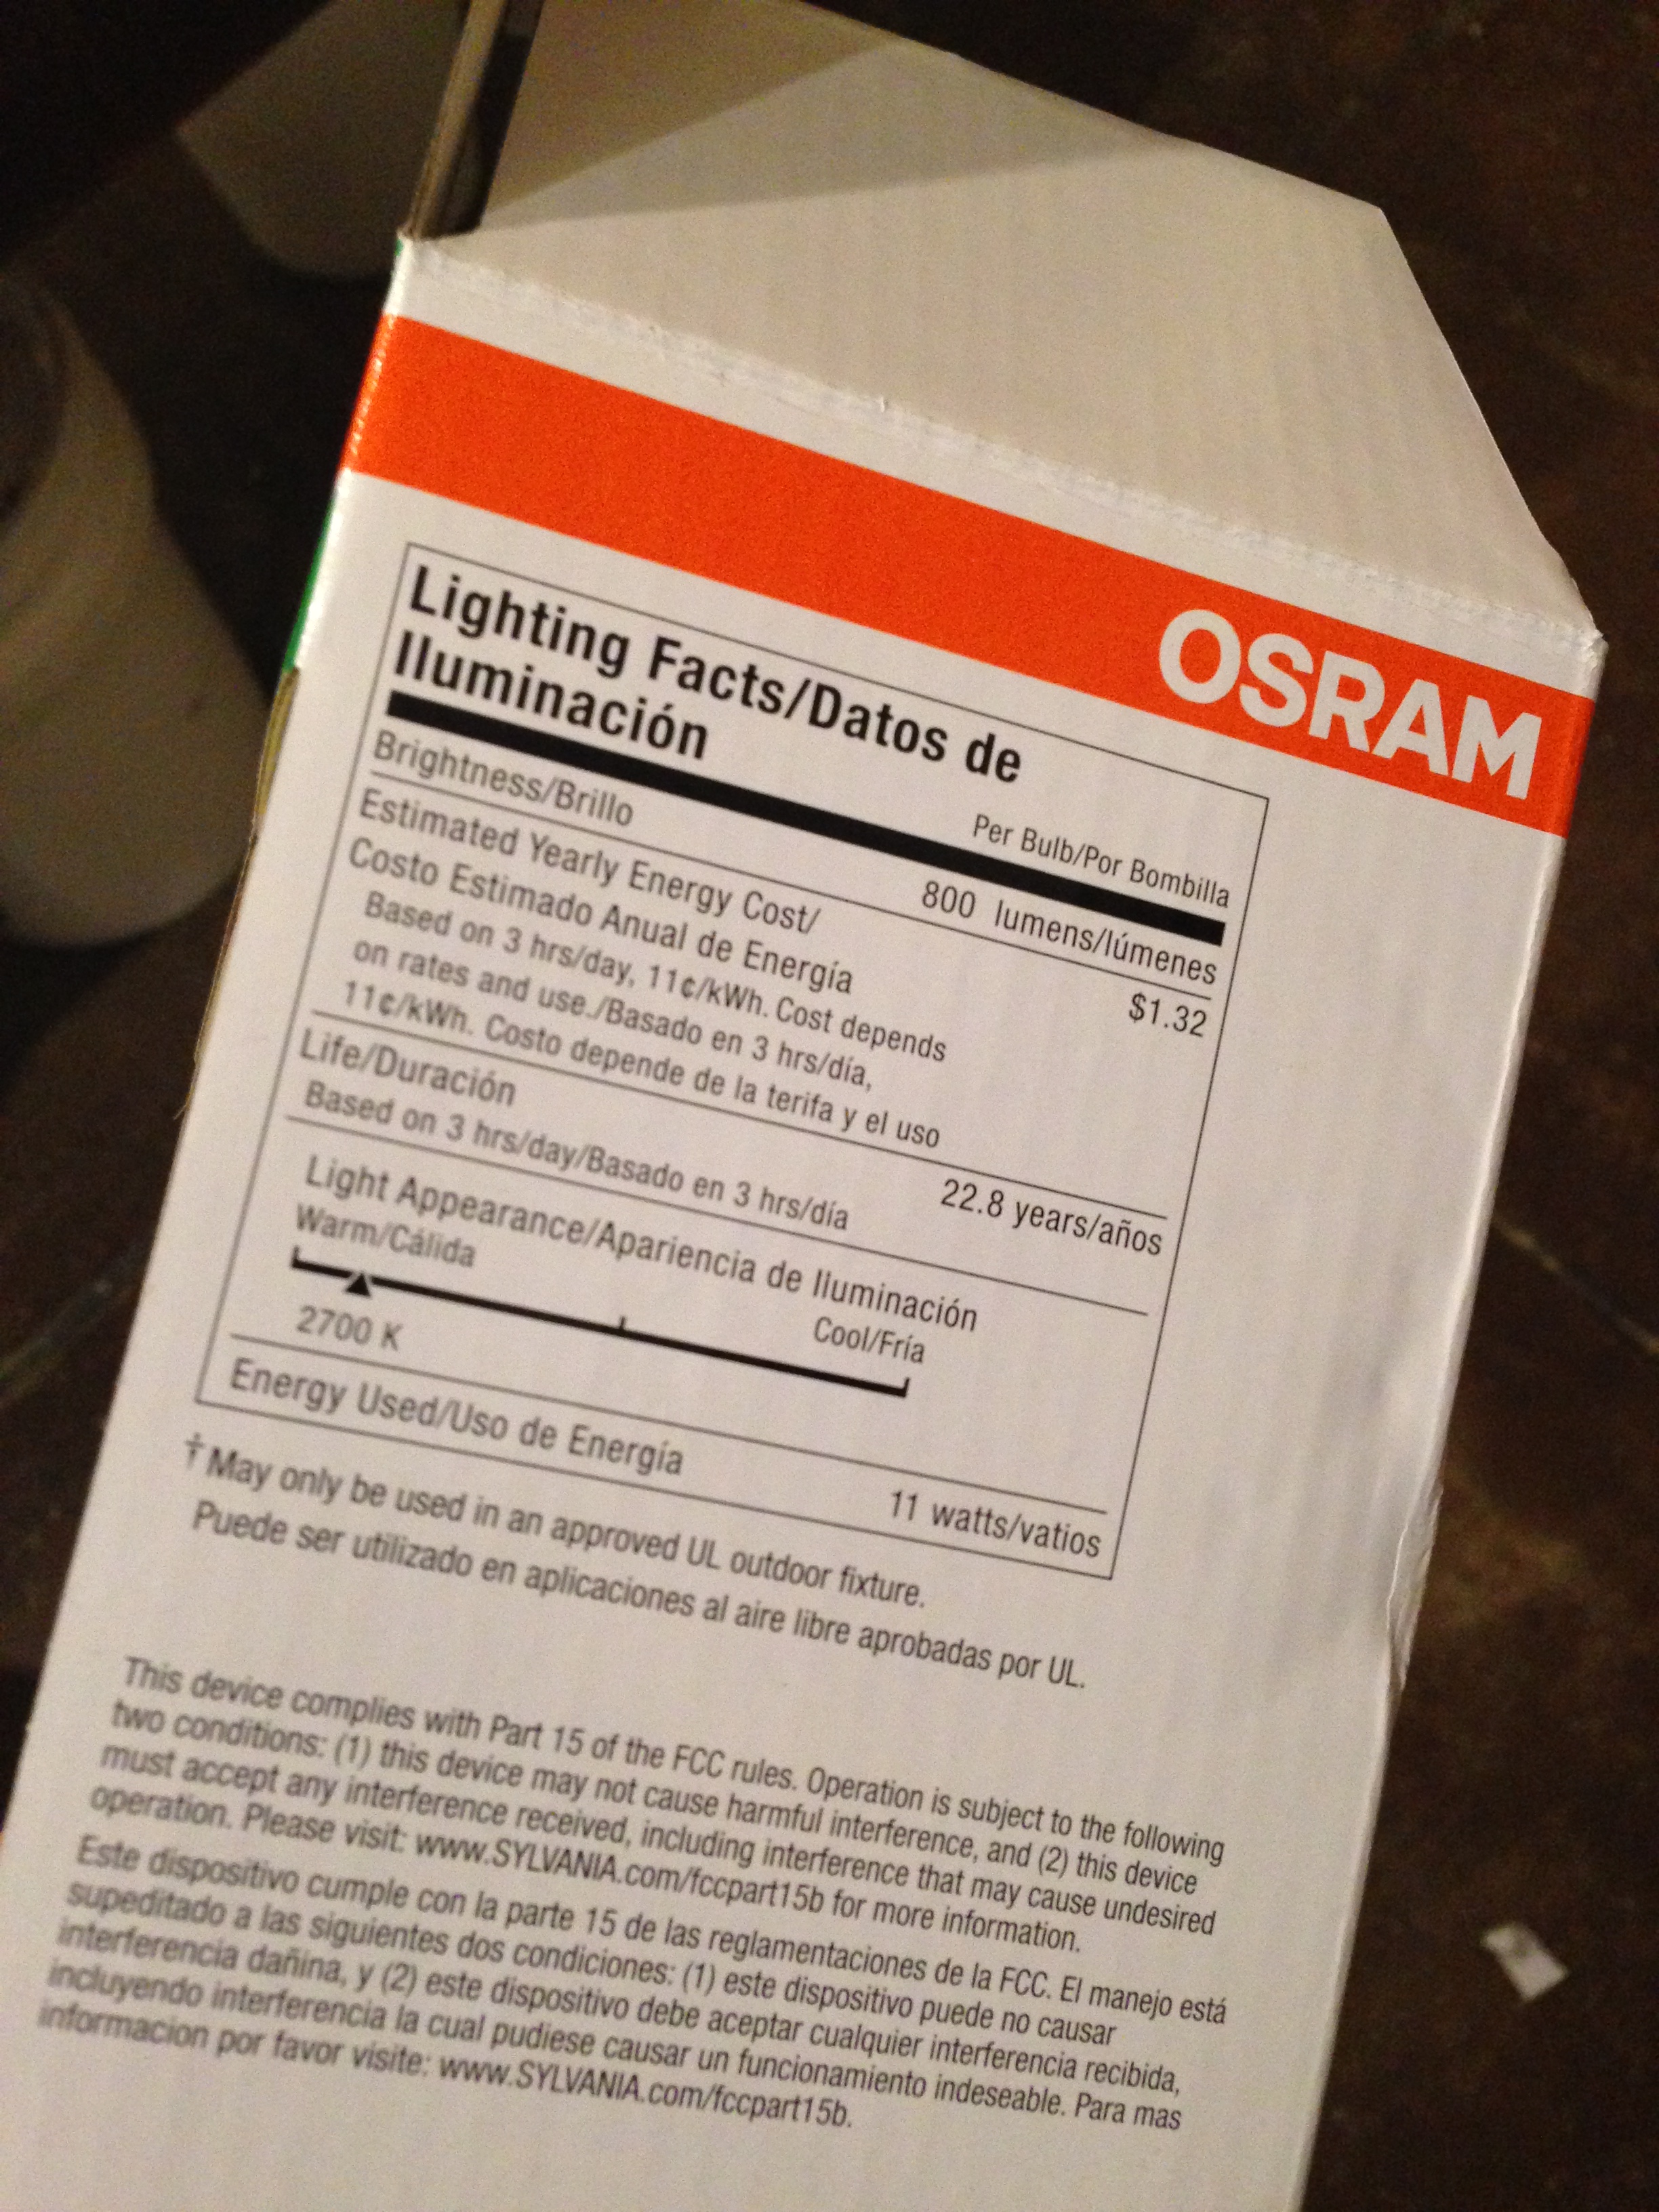
Framing is complete in the basement. So now we’re ready for inspections and then electrical. It’s really exciting to see the rooms formed and ready for the next step. I think we have around $750-$1,000 worth of materials into the project so far. My labor is free.

And I noticed my spray foam job did the trick on the exterior penetrations. I got one more can to touch up one little gap, but otherwise we should be pretty air tight in the basement now. Will see if these sealing chores impact our electric bill in the coming year.


Spray Foam For -15 Days

Winter is kicking the crap out of us. And it’s everything our energy-efficient house can do to keep up. School is cancelled tomorrow because the high is supposed to be around 4 degrees, and lows around -15 degrees.

A weak in our super insulated house that I noticed recently is down in the basement. There are a series of penetrations in the rim joist where various mechanical systems go outside. These include holes for a spigot, the fresh air energy exchanger and what I think is the septic tank.

When they built the house nearly three years ago, the insulation was sprayed first, then the plumber and HVAC guys came in to set up their systems. Well when they did their job, they cut away the insulation but never bothered to spray foam around the pipes. Thus creating a kink in our insulating armor.

Recently when we had the spigot replaced (twice), due to leakage, more foam was removed from that particular hole and not replaced.

When I was finishing off the basement shelves this winter, I noticed I could see cobwebs near the holes blowing in the wind. Air was rushing into the house through the uninsulated penetrations. Because the house is super tight (or is supposed to be), any air penetration is exaggerated. So it was like little jet streams of air pouring in, and recently 0 degree air.

I was going to wait until the weather warmed up to spray some foam into the openings. I’m not sure if the cold air will affect the curing of the foam, as it hardens into an air tight barrier. But with -15 facing us tomorrow I figured I’d better spray today.

I used one can, and sprayed around all the openings. The foam takes a while to expand and harden, so I’ll check progress in the morning, and likely pick up another can to spray. There were a couple other little areas, like where a HVAC register is smack dab against the rim joist, that could use some foam.

When spraying, take your time. These areas are really tight to access, and a flashlight is necessary to be able to see. And don’t be like me: wear gloves. I got the nasty stuff on my hands and in the fur on my arms. It does not come off!

Overall the house has been holding up to winter in terms of keeping us warm. My office area is fairly cold and I’ve taken to plugging in a space heater. I’m also getting old and can’t seem to shake the cold anymore. We’ve been using the pellet fireplace a lot more this winter too. It works like a dream. One other note, the passive solar part of our home building equation definitely works. The kitchen, dining, family room area gets unto 75+ degrees on sunlight alone, which presumably takes some load off of the HVAC system.

I hope you’re all staying as warm as you can. I’m really depressed with the weather we’re having and can not wait for spring to get here as soon as possible.

Here are today’s pics. Peace.

Spray foam comes in a can. It's one time use, so use the whole can.

Spray foam comes in a can. It’s one time use, so use the whole can.

Pipes for the geothermal or septic system. Really tight access to where they penetrate the rim joist.

Pipes for the geothermal or septic system. Really tight access to where they penetrate the rim joist.

The input or output, I forget, for the fresh air heat exchanger. Fairly good access. Note, the laundry room HVAC vent in the adjacent bay is right against the rim joist, and could benefit from some spray foam.

The input or output, I forget, for the fresh air heat exchanger. Fairly good access. Note, the laundry room HVAC vent in the adjacent bay is right against the rim joist, and could benefit from some spray foam.

spray-foam-around-house-penetrations

Valentine’s Day

Valentine’s Day Present

Most guys would get their sweetheart roses, a card and maybe some chocolates. I bought my wife one-hundred-eight dollars worth of straw bales for Valentine’s Day.

The winter has been everything the Farmer’s Almanac had predicted, and more so. We’ve been snow-covered since Christmas for intents and purposes. And this week the bottom finally fell out of the thermometer; treating northeast Ohio to windchill lows in the -20 to -30 range. As Valentine’s Day dawned we were greeted with winter storm warnings, and cancelled travel plans.

The nagging worry about our bees, that had been omnipresent in the back of our minds, worked its way forward with the arctic weather looming. We decided to put up the burlap wind break that we had neglected to erect before winter. But we wondered if there was more we could do. I’m not sure who thought of what, but I googled “hay” and “beehives” and sure enough found examples of straw bale wind breaks around beehives.

The last thing I wanted to do was go buy a bunch of straw bales and haul them back to the apiary. But it was Valentine’s Day and suppose that’s what you do when you try to be more good, than bad.

With the suspicion that carrying bales of straw out back would be the end of me, visions of a heart attack leaving me face down in a blanket of snow, I reluctantly put on my long underwear, boots, scarf, coat, hat and gloves. Outside I went. I hooked up the trailer and headed down to our local hardware store / lumber yard. Once there, I bought as many bales as I could haul.

Sure enough, back at the ranch, after carrying two bales back I was ready to welcome the relief of a good life-ending cardiac event. That’s when my Valentine came out and had the great idea of using a sled to haul the straw back there. It worked brilliantly with the two of us, and our trusty sled, moving ten more bales back to our beehives.

I stacked the bales as best I could to get as much coverage around the three hives. We also put up the burlap wind break around the southwest corner, which is the corner most exposed to the prevailing wind. I also pushed some snow under the hives; the intent being that it’ll keep the wind our from under the hive. The top of the hives have a decent three inches of the white stuff to help insulate as well.

We’ll see. I’m not even sure if hive No. 1 is still alive. So maybe we could have allocated resources to the other two hives. There’s no way to tell so we just did the best we could do.

With that, I’m writing off the “straw bale for bees” thing as my Valentine’s Day present to my wife this year. And I didn’t even have a heart attack.

Snow Guard Repair

Elsewhere our friends at First Choice Exteriors came out and fixed the snow guard on the garage. They were out on Monday and fixed things right quick at no cost to us. If you have a need for a metal roof or metal roof accessories, these are the guys to call. They are courteous, and do great work; which they stand behind. They service northern Ohio, and I think they even trek out to Indiana, West Virginia and Pennsylvania. Highly recommend them.

Basement Update

I finished farming the basement today! Only took me 6 months. I still have 3 metal studs to install but I’m leaving them out until we get EVERYTHING in to the storage room. Next we’ll get the framing and insulation inspected and the have the electrician come out to do his thing.

Today I completed the framing for a little storage cubicle under the staircase. That area, while good for storing Christmas decorations, it also makes for a good “fort” too.

Here are today’s photos. Stay warm peeps.

Mother Nature Hates Me

We’ve gotten a lot of snow this winter. In between snow storms we’ve gotten some days above freezing as well. The combination makes for perfect snow man making weather. It also has meant a lot of snow and ice has accumulated on the roof of our house and garage.

Last night I came home late, and found that the snow guard on the garage failed. The guard hung half off the roof, and managed to mangle our screened gutter as well.

Meanwhile on the other roof areas, warmer temperatures today mean that the snow continues to melt. The melting snow falls off the roof, even in areas with the guards, in large piles of wet snow and ice, often with a loud audible “poof”.

This is destroying all of our plants that we’ve planted around the perimeter of the house. The greatest disappointment was the burying of a witch hazel plant. These are Christine’s favorites so she was very sad to see one basically destroyed by the falling snow piles off of the porch roof (which is so flat we didn’t think it needed a snow guard). The witch hazel’s are also special because we drove all the way to Illinois to buy them. So replacing one isn’t as easy as just driving up to some store in the spring. I took the time to unbury the witch hazel and used string to prop up its broken branches. Maybe they’ll mend in the spring. Hopefully the plant will survive.

I devised a way to lessen the blow of the snow on the bushes, by placing three metal garden stakes to form a sort of tee-pee over the plant. This worked fairly well protecting a chokeberry this morning as probably 400 lbs. of snow cascaded down 30′ from atop the studio dormer. The Japanese maple, we rescued two years ago, didn’t fare as well. It lost quite a few branches.

I’m not sure there is much we can do to prevent this in the future. Some bushes will hopefully grow large enough that they can survive the snow dumps. Others may just be destined to succumb to it.

I took a walk yesterday and checked on the bees. I removed all the snow from atop the hives. I actually saw hive No. 3 bees flying. And unfortunately a few of them drop into the snow and die. Hive No. 2 had some dead bees in front of it. Unfortunately there were no sign of bees in front of hive No. 1, so I’m expecting the worst for that hive.

I’m ready for winter to be over. February is the worst month around here. It has zero redeeming value, and can not be over soon enough.


Winter 2015 Photo Tour

It was such a beautiful morning I had to take 15 minutes and sneak outside to snap a few photos. The combination of snow, rain, and snow (and no wind) means that all the trees are retaining their white snow covered branches.

The landscape around the house truly is a winter wonderland.

A Xylophone and LED Light Bulbs

Snowy yard in January 2015

Snowy yard in January 2015

A mixed bag of whatnot for this post. We’ve been somewhat snowed in for a week or two as winter asserts itself in northeast Ohio. The ground has been covered in a blanket of white for the better part of four weeks or more. But the last week has found an accumulation of a few inches per day it seems.

We’re in full hibernation mode. Venturing out for school, provisions and not much more. I’ve been busy with work but have found some time here and there to dabble in various distractions.

As the original lightbulbs in the house burn out, I’m trying to replace them with energy efficient LED light bulbs. Because LED’s do cost a fair bit, I can’t just go out and replace them all. But this past week I replaced the four light bulbs in the upstairs studio. This space is used by the wife and kids everyday so it’s a good candidate for eco-friendly, cost saving bulbs.

One of the three recessed ceiling cans had a burnt out bulb. I took the three working bulbs and transferred them to the kitchen where we have a half-dozen burned out cans. I then went to Lowe’s and picked up four Sylvania Ultra 11-Watt (65W Equivalent) BR30 Medium Base Soft White Dimmable Indoor LED Flood light bulbs. I normally prefer Home Depot for LED light bulb selection. But I get a discount at Lowe’s and there’s for the studio recess cans, you don’t see anything but light, so a sexy bulb design isn’t important. Though these Sylvania do look good.

 The smooth lines of a SYLVANIA Ultra 11-Watt (65W Equivalent) BR30 Medium Base Soft White Dimmable Indoor LED Flood Light Bulb from Lowe's


The smooth lines of a SYLVANIA Ultra 11-Watt (65W Equivalent) BR30 Medium Base Soft White Dimmable Indoor LED Flood Light Bulb from Lowe’s

Here’s a picture of the box with all the stats. For60Watt replacement bulbs you want to make sure you’re getting around 800 lumens, which is exactly what these65W equivalent bulbs get. At 11-watts, according to the packaging, the bulbs will each save us $1.32 per year over 22 years for a grand total of $29 per bulb (at 3/ hrs a day, at $0.11kWh).  Each bulb cost $15, so we’ll sort of “make money” in the form of long term cost avoidance.

Those four bulbs will keep 1,600 lbs (nearly a ton) of carbon from entering the atmosphere over 22 years (18.2 lbs per bulb per year). It feels pretty good.

Another fun fact I pointed out as my kid helped me install the bulbs, since they last 22 years, it could very well be my grandkids standing there the next time I have to get on the ladder and change those bulbs in the studio. Who knows, the bulbs may even outlast me.

Side of the box

Side of the box

front of the box

front of the box

The new bulbs doing their thing.

The new bulbs doing their thing.


Xylophone

One fun thing we did this week was we made a real xylophone. Our oldest came home from school and told us how he played a xylophone that day, and he wanted to make one.

We didn’t have any sort of plan, but he drew up his own plan in book form. It was cute. He then directed me as I sawed and screwed together some scrap wood. The first one didn’t turn out too good so on Saturday we woke up early and picked up some 1×2’s at the store. I used this guide online (click here) to make our xylophone. I’ll let you look through the steps yourself.

Ours turned out okay and it does make the right sounds for the most part. It was a fun project and nice distraction for a snowy Saturday afternoon.

I used a file to tune the keys.

I used a file to tune the keys.

The assembled xylophone.

The assembled xylophone.

The xylophone in action.

The xylophone in action.