Well with my birthday over, and my offroading trip finished too, we’ve started this week by settling back into the groove. And as such I have set aside the time to write and let you know what we’ve been up to. Absolutely nothing productive is happening outside. I just don’t look out the windows at the plant bed that still needs fabric and mulch. Nor do I look at the gum trees that need freedom from the encroaching meadow around them. And don’t even get me started on the back yard and garden.
Inside though we’re taking baby steps. We pretty much are done painting the upstairs hall “gallery” wall. Here’s what it looked like before, painted Canvas Tan (SW7531):
The hall gallery wall before in tan.
We left the rest of hall that color, but for the gallery wall which runs a long way from studio to bedrooms, we wanted something darker to camouflage the closet door cut lines, hinges and door knobs. Also the dark color would make artwork “pop” when hung on that wall. Looking at our Global Spice palette of colors we selected Sherwin Williams GS18 Sable SW6083 which is a dark brown color that goes perfectly with the sage carpet and the aforementioned Canvas Tan.
I thought we’d only need a gallon to cover the 7′ tall wall that runs around…I don’t know….twenty feet long? And surprise, surprise I was right. Because the walls were already tan we didn’t need to prime them, and two coats of brown did the job. We just have to hit the door edges and closet edges with one more coat and the job will be done. Eventually we’ll replace all the outlets on the wall with brown ones to hide those too.

The gallery wall being painted Sherwin Williams GS18 Sable SW6083.
Do we like it? You’re darn right we like it, a lot. It provides visual complexity to the space and helps close in the hallway a little, making it more “homey”. And no it’s not too dark at all. Despite not having any windows in the hallway, the space gets enough daylight leaking in from all the adjacent rooms that natural light is not a problem during the day. At night it’s a more engaging space, with a new level of complexity that makes it more interesting. I liken it to a theater set, in that there is a lot more going on visually; an eclectic mix that suits our aesthetic preferences. This is the second time we’ve painted interior walls in dark brown and we loved it each time. In our old house the entry AND back hall were a nearly black brown and it was fantastic.
Okay, so we banged out that painting project (good ’cause the paint was sitting for like 2 months since we bought it). Check! No more “paint the hall” monkey on my back. One minor monkey project is the window cranks. The overpriced, but necessary, cranks ($30 a pop!) showed up this week. That means I just need to go around to each window, install cranks where they are missing, and tighten the set screws on ALL the cranks. Then…voila! No more hand crank monkey on my back either. Only took me 18 months. Not bad considering my track record for accomplishing things.
While I was emboldened to get things off my list I called up the plumber to check on the Master Bed sinks. As you may or may not know, the little rods you pull to close the drain broke off our overpriced Kohler faucets the first time we used them. It’s a horrifically (sp?) bad design. I plan on writing Kohler a strongly worded letter asking why they design such garbage and then charge people upwards of $800-$1,000 retail per faucet. The plumber and the sink supplier both tried to get Kohler to provide a fix but the company couldn’t; basically they said “tough shit, there’s nothing wrong with our product” and left us hanging. Well I discovered we had a slick push button drain stop in our half bath sink. Only took me 18 months to figure that out too. It looks like this:

This is a Kohler push button drain in our half bath. Yeah, that’ll work.
Well I asked the plumber / plumbing supplier if we could just put these cook push button stops in our Master sinks. Problem solved: push button stops and we’d just glue the old drain stops in place so they looked good but didn’t function. Take that Kohler. Without looking at anything the plumber and supplier decided I could get two push button stops, and the plumber would split the cost with me; they were $40 a pop. I said “that’s fine” ’cause I just wanted the sink drain monkey off my back. I’ll save my fight with Kohler for another day.
So the plumber came out and changed the drains. I didn’t see them because we had to run the boys to school. When I got back I didn’t think to look at them since I was super busy with work I had to get to. I paid the plumber as he explained something about needing a washer to connect a pipe or something to the new drains….okay, whatever I’m sure it’s fine…I don’t have time to learn all the nuances of being a plumber. It’s tough enough being a neurotic, self-absorbed, design prick…let alone a plumber too. Off the plumber went.
Well nature called so I decided to go check out the drains, expecting to see what you see in the above photo, just chrome. This is what I saw:
This is ridiculous. Going from bad to worse with our Master Bathroom.

Our new giant push button drains look stupid.
I didn’t even know where to begin. All I could see was this giant chrome thing, about the size of a hubcap on a ’53 Mercury in the middle of our sinks, sticking up like a toadstool that small fairies would hide under during fairy hunting season.
“Wow” I thought.
“Those look big, even for a trashy LA mansion, let alone our humble bathroom. Who thought that was a good idea?” I said to my indifferent brown hand towel who witnessed the entire transformation with nary a word.
Ugh, I don’t have time for this.
For shits and giggles I looked underneath the sink to see what was up down there. I chuckled a little bit. On one sink a nut is holding up the drain pipe. On the other it’s a cutoff of copper tube holding that one up. Apparently the plumber couldn’t readily make the connection between drain and pipe so they’re just sort of squished together, propped up by the random bits.

I don’t even know why I bother anymore. Here you can see a nut permanently holding up the drain pipe under the sink because something or anther doesn’t bond together properly.
Ugh, I don’t have time for this.
I called up the plumbing supplier and asked him if Kohler made any push button drains like the one in the half bath. They don’t. They sell that one ONLY with that faucet. Lovely. Of course that is how they do it. A product someone wants, so don’t offer it. Marketing genius. He did inform me that Moen sells something that will work. I did not ask why didn’t we use that part to begin with. No sense asking the universe unanswerable questions. And no, no returns on the drains that were just installed. So after another $80 out of my pocket, I have two of these ordered:
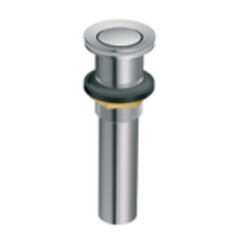
Moen push button drain. We have two on order for $40 apiece.
I’ve called my other plumber and he said he’d install them once I get them. I told him, even if we have to take everything back to the wall, I want the pipes done properly. No matter the cost. I think I’ve done more remodelling projects in our new home than I ever did in our last house that we lived in for a decade. I don’t even argue anymore, I just go with the flow. Get it? I “go with the flow“. Plumbing humor.
Going back to the upstairs hall, now that it’s painted I started dreaming about the lighting in there. For now it’s just boring ceiling lights. But the staircase is screaming for a nifty chandelier to add an eclectic charge to our theater like brown and tan hallway. It looks boring now:

Staircase…bookshelves on the left (back) wall and chandelier from ceiling…someday.
Eventually we want to cover the back wall in a shallow bookcase. And cascading down in front of that bookcase, above the landing, sprouting form the current light location, I’m thinking a really cool glass ball or industrial light fixture. This is the sort of thing I have in mind:
Stainless ball chandelier.
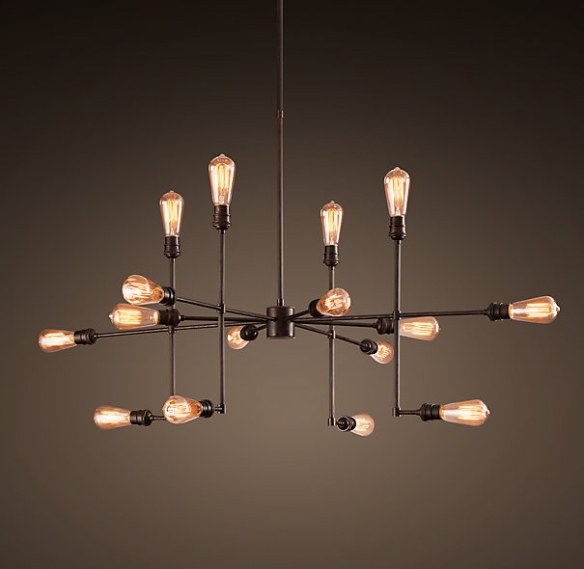
Awesome pipe fitting chandelier from Restoration Hardware.

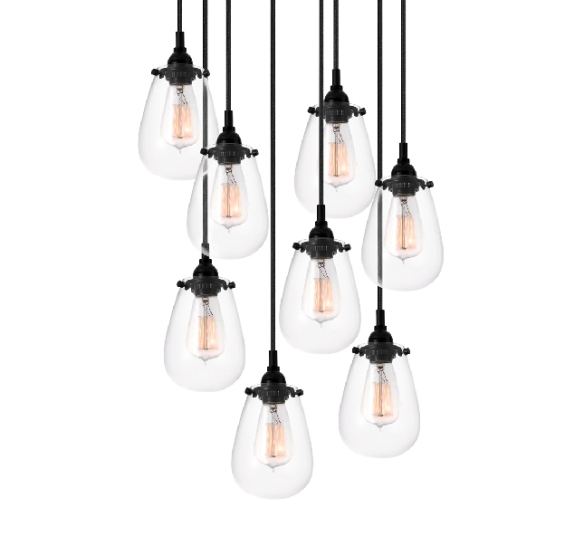
Elegant glass ball pendant chandelier.
Barn Light Electric offers this simple multi bulb chandelier.

Meteor shower glass ball chandelier.

Cool rustic ball chandelier.
Very cool pipe fitting lighting.
Something like the ‘meteor shower’ or stainless ball chandelier would look perfect there. The space is so vertical, a light fixture that takes advantage of the space will do wonders for the stairwell and hallway. It’s such an asymmetrical space, that the fixture needs to be asymmetrical as well. In my mind the space can become one of the most dynamic spaces in the house. And rightfully so since it’s the main traffic corridor. It’ll be some time before we redo the lighting up there, including adding track lighting for the gallery wall, but it’s never to early to plan and dream. I’m even knocking around the idea of a spiral staircase to the loft, but the will be way down the road.
Alright, I think that brings us up to speed. Hopefully my studio shelves will be done soon so we can start installing them. Which in turn will help us get organized both in the studio and in the basement, which currently houses all of my art business junk.
We’ve kicked out a few monkeys. This is good.