Yesterday morning I awoke early to unlock the studio door in preparation for the workers finishing off my studio floor this week. I also needed to take the waste down to the curb so I slipped on my shoes. As I opened the studio door a small fuzzy body fell to my floor.
“What are you doing here?” concern in my voice as I bent over and slipped a car key under her legs. Most likely she was one of our bees and now she clung to the key as I pulled her closer to my eye. Her tired little body was covered in dew. For whatever reason she had spent the night clung to my door. Maybe she had been trying to get a hold of me and spent the night knocking our my door, only it’s virtually impossible to hear a bee when they’re knocking on one’s door I reckon. So there she sat, perched upon my key, near death. Bees need to be in their hive at night, not on my door.
I almost wanted to pet her, to provide some degree of comfort. The right thing to do would have been to put her out of her misery right there and then, but I didn’t have it in me. So my bee, upon my key, and I took a stroll in the early morning sunlight. Through the garden gate, past the sunflowers, to the hive we went. I placed her worn out body at the hive entrance, transparent yellow rays of sun drying her wings and warming her body. I doubt she made it, and I probably put the greater hive at risk if there really was something wrong with her, but what am I to do. Anymore, I just don’t have it in me to always think with my brain. I let her be. One small part of a greater organism. A system where the individual gives their life for the survival of the hive. Something in me just thinks maybe she’d rather see her home, or at least a bee home, one last time.
Back inside our hive of a home we’ve had workers finishing the cement floor in my art studio. The stared yesterday morning by putting up plastic to keep dust out of the rest of the house, and they used a grinder to take off all the paint, drywall and stains in the floor; essentially removing the top layer of concrete. They then applied a semi-transparent stain from H&C Concrete Products. We selected Espresso color to match the cabinets and the bronze tile elsewhere in the house.
Today they applied a clear coat and tomorrow they will caulk all the expansion joints in the floor. In the end we’ll have a floor that can be cleaned more readily and look great.
Because they’re working in my studio I moved out of my office and relocated to the loft. I really like it up here. The view is incredible and the leather chairs are somewhat comfy (though the card table is an ergonomic disaster for my neck). Much more inspiring up here than down in my hallway office, but that of course translates to more thinking and dreaming instead of working. No one pays me to think or dream. It’s pretty awesome up here though. You should be up here when it rains. Talk about not getting any work done; instead just stare out the window.
Only thing I wish we’d done was 1) had the time / money / patience to finish it off with a ceiling fan and bookcases (it was hot yesterday ’cause the windows were open to air out the house from my studio finishing…all the air in the house is meant to escape out the loft, that’s why it exists in the first place). Eventually the space will be a library thus the need for shelves. 2) A spiral staircase would be nice to have. The ship’s ladder worries me with our boys going up and down. My oldest joined me in the temporary “office”. He set up his own desk and the whole nine yards. So cute. Anyway a spiral staircase would be nice and I think it would fill in the corner of the hallway below better. Not a big deal though.
Well I should get back to work, though it just started raining for the first time in weeks.
Maybe it’s time for a break….

A bee at the entrance to the hive. I found him on my studio door. Right or wrong I took him back home.

The hive in the early morning sunshine.

The new finish on my studio floor. Espresso to match the cabinets and tile throughout the house.

Early morning sunrise casts its rays upon a sunflower in our garden.

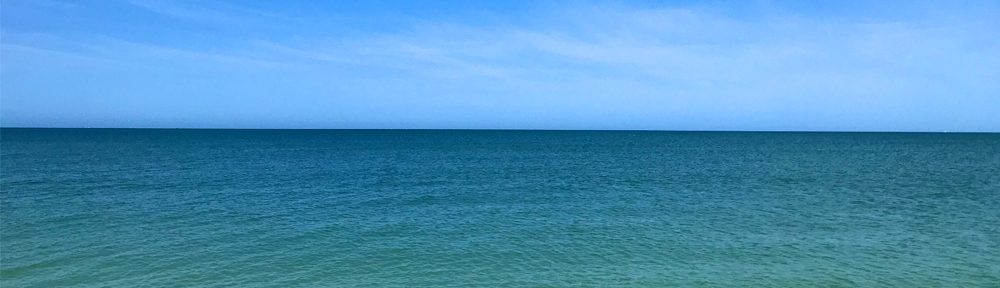
The view out of my temporary office. Sure beats a parking lot view or no window at all like most well off folks got.


