Today I did bad. I kind of played hooky but it was for a good cause. And I promise I’ll work really, really hard tomorrow.
I did start the morning getting some work done, then around 10am the wife and I hit the road. We travelled out to Queen Right Colonies to ask questions and pick up provisions for the bees.
Hell bent on harvesting some honey this year, and hopeful because the last time we saw our bees they had filled up the entire medium super with mostly capped honey, we grabbed what we knew we needed….a mouse guard because one of ours was hopelessly lost in the mess of our garage, as well as some items for our bee keeping friend. A trip way out to Queen Right is not to be taken lightly because it takes like an hour to get out there. While out there we took the opportunity to ask about what would be need to harvest honey. We’re making progress because we limited ourselves to only two and a half dumb questions and only projected a sense of misinformation on one or two occasions during our conversation. As always the owners of the bee supply store provided us with valuable info. We decided to rent an extractor from them and put our name on the schedule. A weekend rental, for something like $25, meant we could keep it for an extra day. Essentially the extractor spills all the honey out of the frames using centrifugal force. Our mid super has ten frames so it wouldn’t take long but well worth having the right equipment. Like any small business that knows a lot about a topic, bees in this case, they know what you need and what you don’t and as such are hesitant to sell you anything unless you absolutely demand it…pound your fist on the counter if need be. Being a guy, I of course slipped in a 5 gallon bucket with a yellow spigot at the bottom of it, as well as a fine mesh strainer insert. Hey, just on the off-chance we wanted filtered honey and a fancy spigot to fill the bottles with. C’mon, you don’t expect me to drive an hour and not buy something for myself do you? So we were all set, rent the extractor in a week, then dump all the honey into a bucket, then into my new fancy bucket then into some bottles….honey for everyone for Christmas this year. Happiness.
We also talked to one of the owners about getting a screech-owl nesting box. We were informed that screech owls are great cause they eat mice and sparrows. Do we want to get rid of sparrows? Mice, yes. But sparrows? Then he mentioned that you have to get up on a ladder and clean out the box when swallows, or some other type of bird nests in there. And it wasn’t like just clean the nest out, it was like take baby birds and chuck them across the field type of clean out. Suffice to say we didn’t come home with a screech-owl nest today.

Screech owl. These awfully cute guys apparently eat mice and sparrows or something like that. I’m sure the birds that nest outside my office window would love it if I erected a few owl nests in the yard.
Speaking of birds we asked about guinea fowl chicks. Queen Right sells those as well, along with a menagerie of other critters for your farm. Remember we have a ton of ticks and the guinea fowl will eat them like a large man plowing through chicken wings at an all you can eat buffet. The best news there is that the baby guinea’s don’t hatch ’til June so that gives me nearly a year before we need a coop. Even better, the owner said you really don’t even need a coop, they’ll roost in trees. So maybe I don’t even have to make a coop. (By the way, I’ll sell naming rights for the coop to whomever comes over and helps me build it). The owner recommended getting three birds, something like one male and two females (hens). We asked about baby guineas…or more specifically eggs. He said it’ll be tough to find the nests but if we do we can shake the eggs to keep from being overrun with baby fowl. Well once again, I can’t envision my wife running around shaking the life out of unborn baby birds, even if they are in an egg. I know you can eat the eggs somehow. Also we could eat the birds….but then one of us is going to have to kill the birds. If I could shoot them I’d probably be fine. But running one down with my bare hands and breaking it’s neck doesn’t really appeal to me. Well we will cross that bridge when we get to it.

Guinea fowl. Tastes like chicken I bet.
Getting back to the bees, all of the honey harvest plan was predicated on the fact that we provided the right info to the folks at Queen Right who gave us the low down on what we could reasonably harvest. Of course that all changed once we actually looked at our hive during today’s inspection. I guess we were blinded by the exaggerated memory of how well our bees were doing. The game plan was: ten tall frames of capped honey in the middle tall super. Then in the lower tall box four frames of honey, placed at the ends. In the center of that box would be a gradient of decreasing honey frames, each with a compliment of open comb for the bees to snuggle into during the winter. The top two medium supers, that was all our honey. If that was what we had, then we go proceed according to plan. Well the reality was that yes, the top medium super is empty, no comb or anything, so that will be going bye bye next week. The next medium super is in fact full of honey, so that’s according to plan. The middle tall super had about eight frames of honey, some brood and a queen (we actually saw her today). Okay, that’ll work but not perfect. The lower tall box was a ghost town. All frames had comb on them but very little honey…just a lot of bees walking around. The hive essentially moved up one box. We put what honey we had in that box outboard, and placed the open honey comb into the center. So in the end we really can’t harvest that entire upper medium super. That being said, I have every intention of harvesting two frames of that medium super, but I’ll do it the old-fashioned way. I’ll cut the comb out and drain it. I’m not renting or borrowing an extractor for two small frames of honey. Despite me taking some, that should still leave about 14+ frames of honey for the bees to survive the winter on.
Our inability to remember how much honey we had paled in comparison to the bad news we found during today’s inspection. Christine noticed varroa mites on a couple adult bees. Looking closely I could see the mites as well, and we saw one newly hatched bee with underdeveloped wings; a bad sign. By time you see them on adult bees you’re screwed. This basically spells doom for our hive unless we can fix it. The wife will work to treat the bees but it could go either way I suppose. I’m optimistic but what the hell do I know. We will still be able to harvest our honey as the treatment won’t affect the quality or safety of our honey. I guess we just have to treat and then see how the bees are doing next Spring, if they survive the Winter. On the plus side, like I said, we saw the queen and she’s still laying eggs. And there are a lot of bees in the hive. They really liked when Christine dropped a frame in the hive and they all swarmed angrily around us. That was pretty cool.

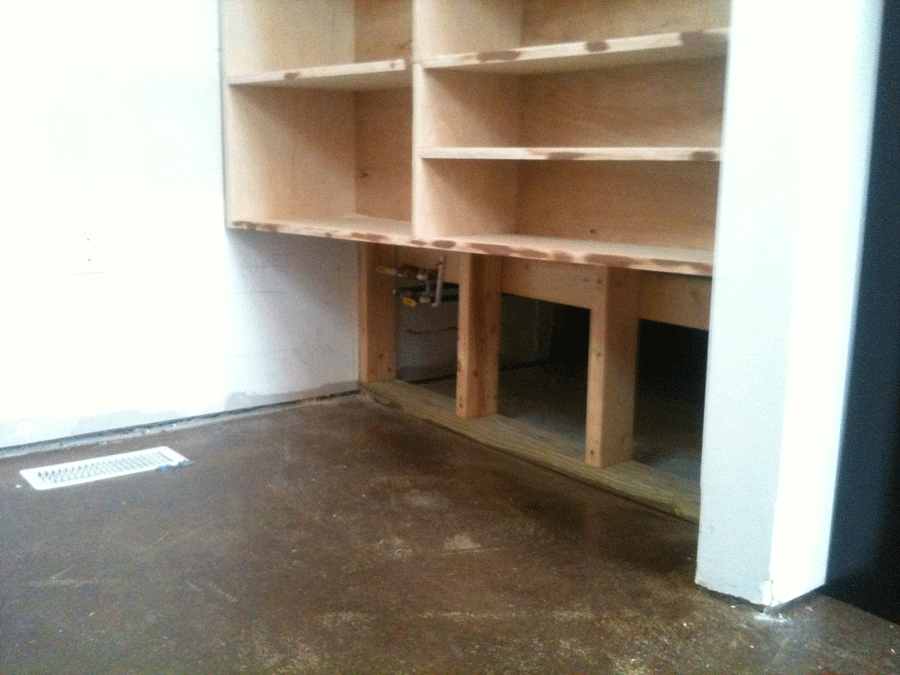
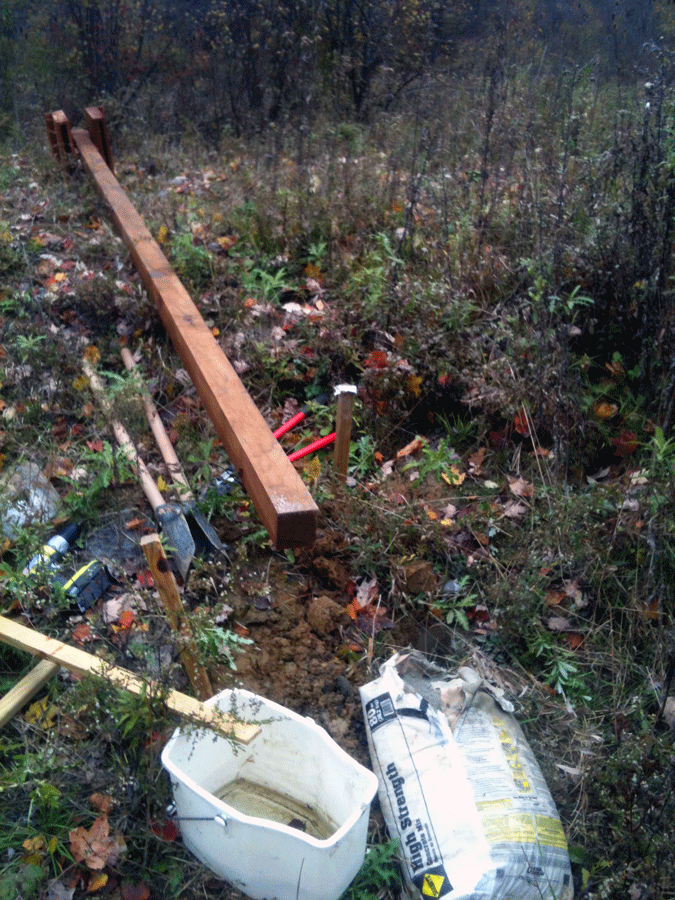
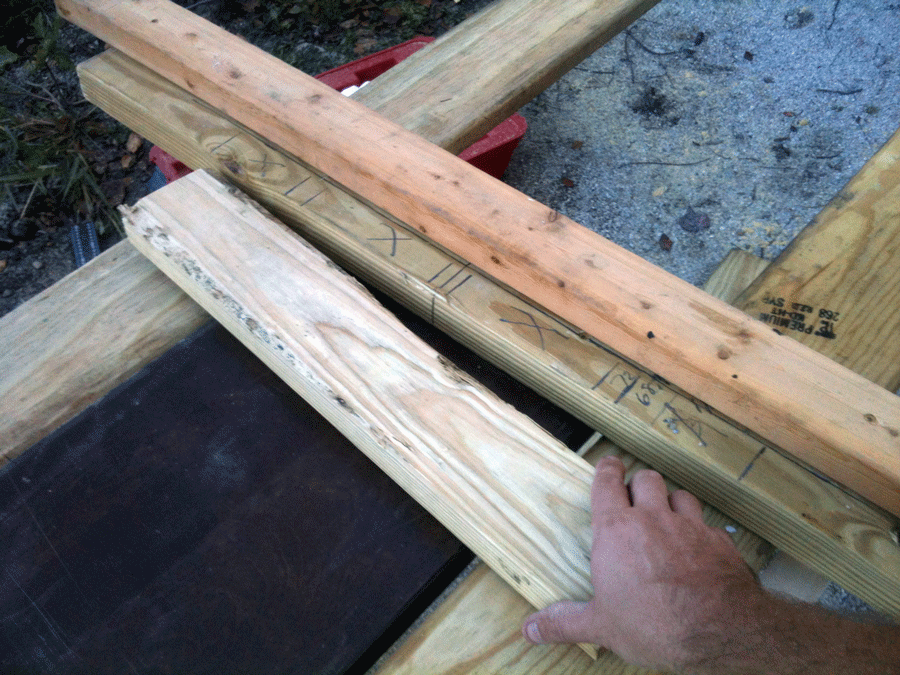
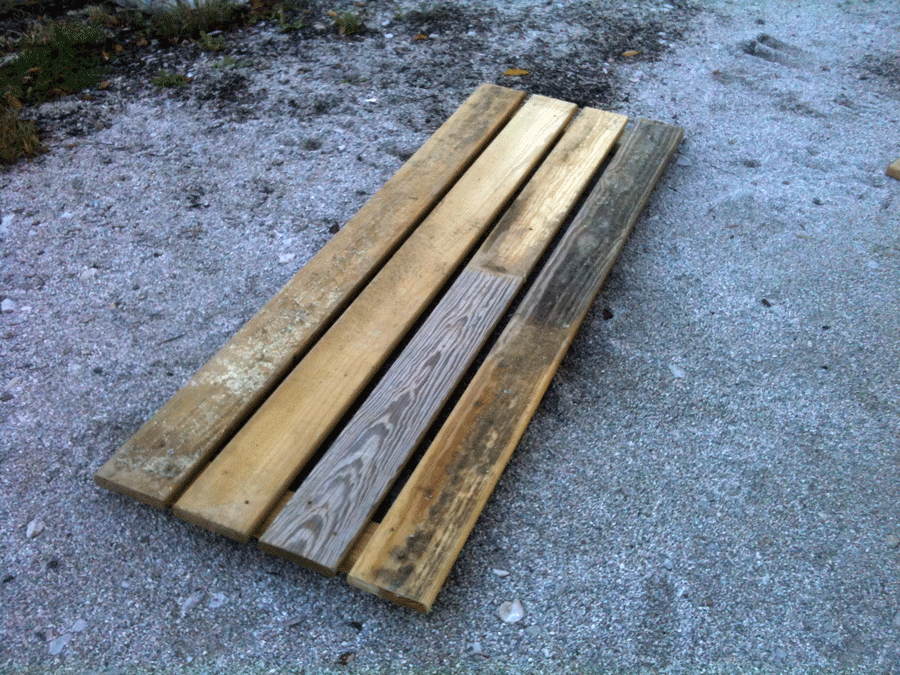
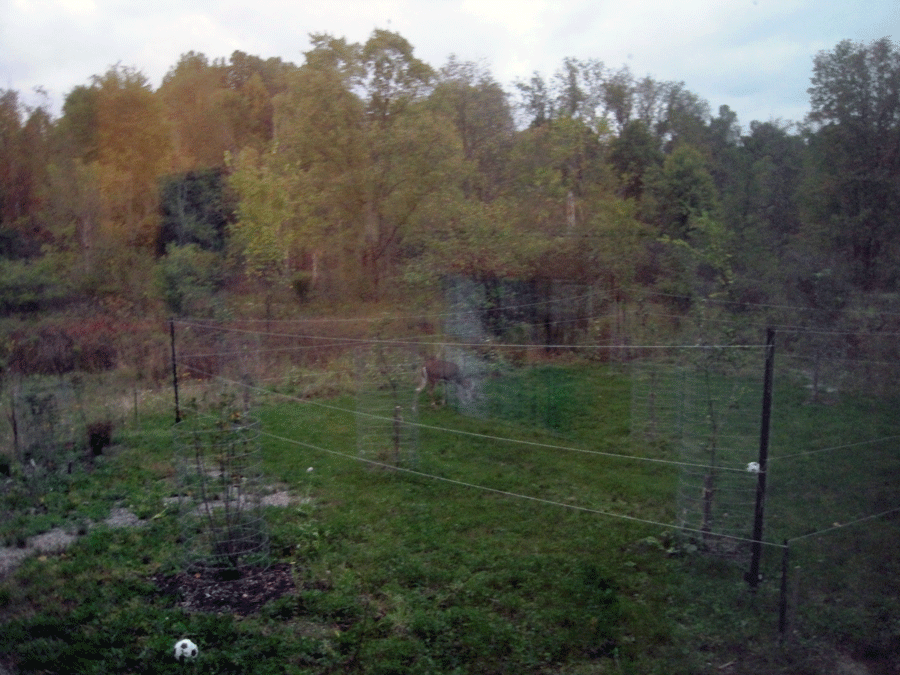
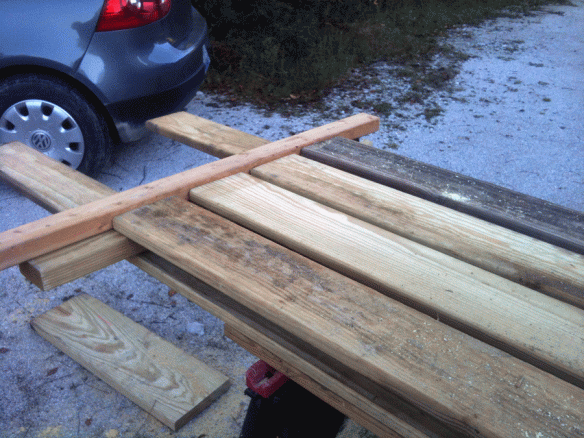
By time we were done checking the hive it was two or three o’clock. My day was shot in terms of getting any office work done. So I played hooky and took advantage of a gorgeous Fall afternoon and dove into the pile of lumber I had dropped off in the driveway the day before. I cut 4×4’s for the sandbox foundation posts. Then I cut up 5/4 boards that had been in storage for a year into six foot lengths for use in the sandbox cover assemblies. There was a cool snake skin attached to several of the boards as I pulled them out from under the tarp.
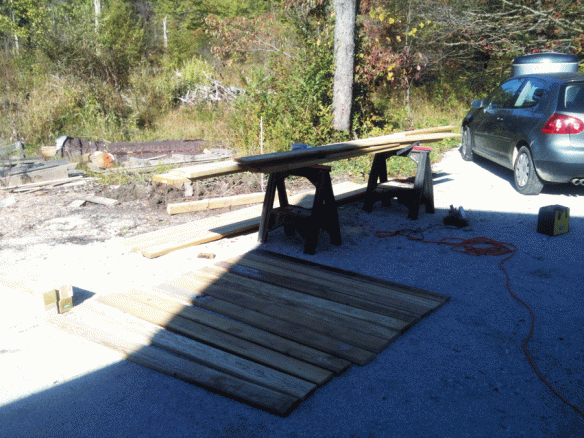
Set up for cutting all the sandbox parts. I made a dent in the pile of old wood under the tarp in the background. Found a mouse nest and a snake skin, so you know…today was a pretty good day for old CW.
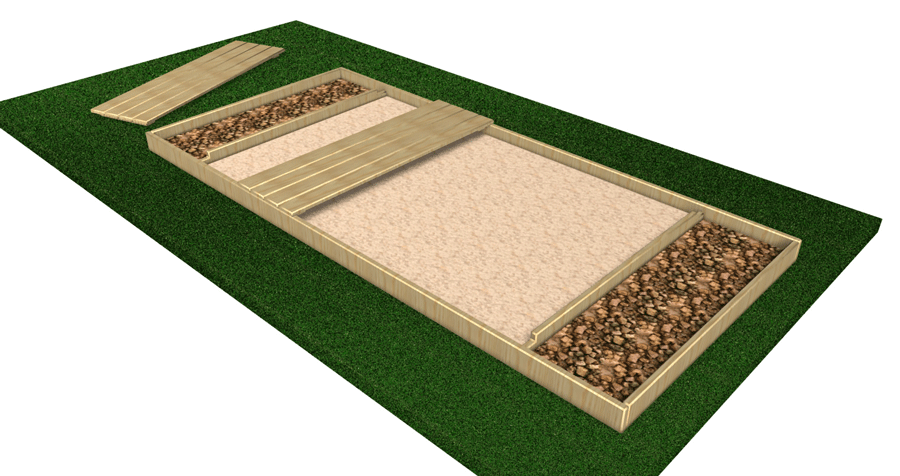
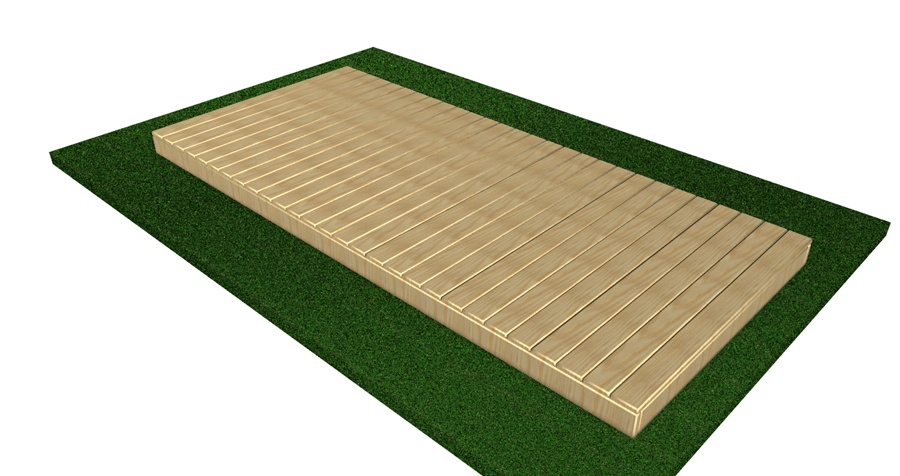
As I laid out the 2×10 boards for the perimeter of the sandbox, I examined the 5/4 boards and decided to change the cover dimensions a bit; which in turn resulted in a slightly smaller box but also one less cover to contend with. I ran inside and updated my plans. New printout in hand I cut up the 2×10’s and was done with making parts. I spent another hour or so making a jig and screwing together four of the six covers I needed. I thought of free handing the assembly of the covers, but in the end making a jig was the way to go to get a consistent cover. My brothers would be proud of me.
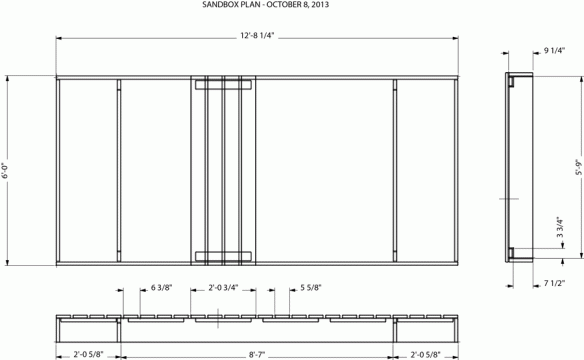
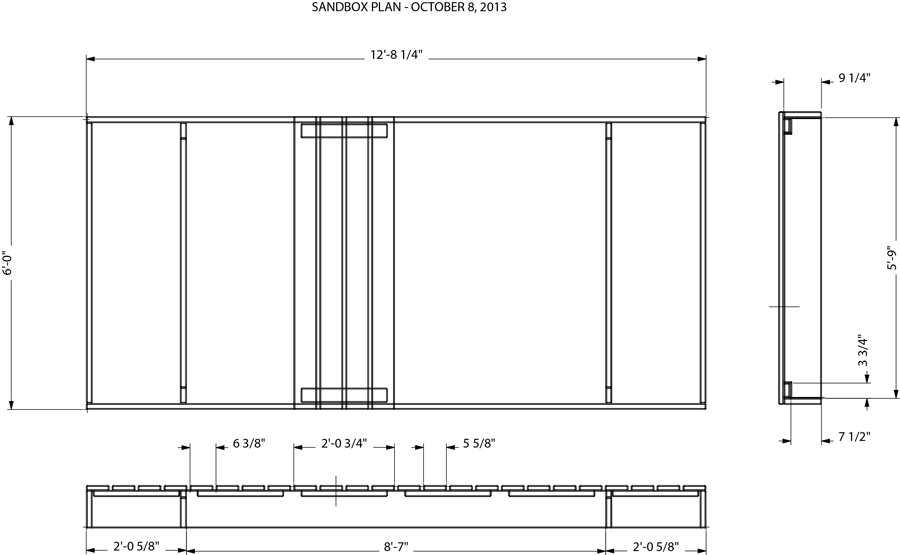
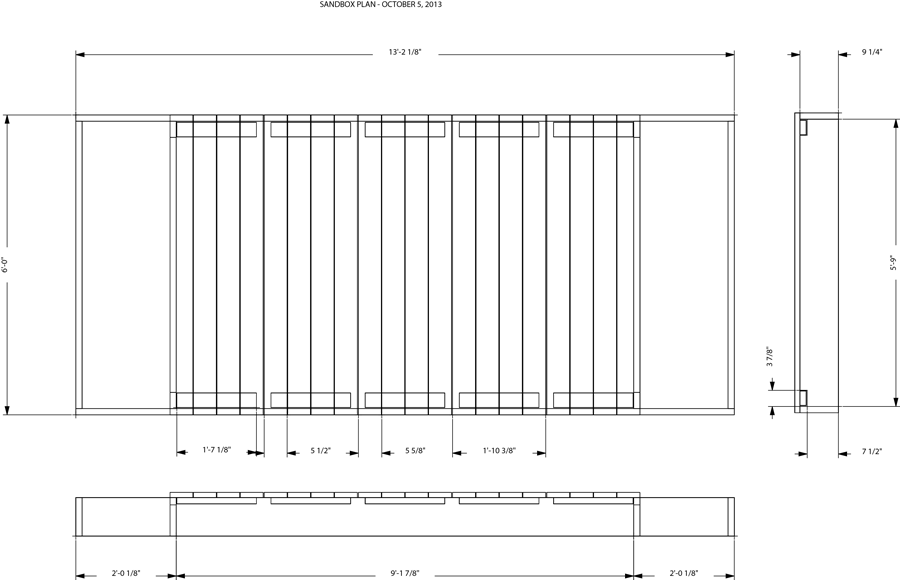
Revised sandbox drafting I did today.
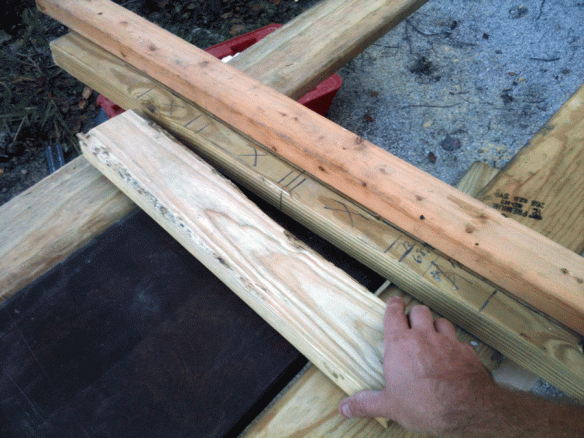
Here I’m placing a 21-1/4″ connector board in my jig. I’ll screw four 5/4 boards onto this board, leaving 3/4″ space between the 5/4 boards.
Laying 5/4 boards into my jig for assembly of a sandbox cover.

An assembled sandbox cover, 6′ x ~2′
As the sun set I hauled pretty much everything back to the play area and called it a day. Our friend, who is also our bee mentor, stopped by and gave Christine all the info she needed, and even some mite fighting supplies, to take care of her bees. As with anything, having someone who knows what’s going on makes life infinitely easier and less stressful.

Everything is cut for the sandbox, just need to assemble.
I’m not sure my brush cutter showed up today…(I have to check the porch). But once I get that, I’m going to fire it up and clear out some brush ’round the sandbox area and I’ll be ready to start putting that all together.
But not tomorrow. I’ll be back in the office all day. It was nice to get out though. To put on the tool belt and pull the trigger on the saw for a few hours. A good way to refill my spiritual fuel tank. And it probably was necessary. Difficult to be creative when you’re running around all the time, physically and mentally.