Honey Bee Update

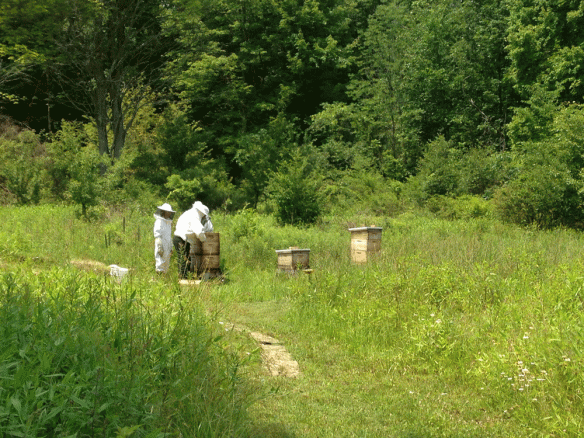
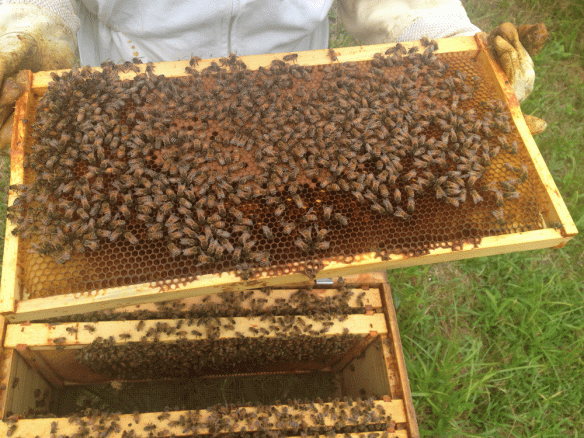
Inspecting hive No. 3 in August 2015.

Inspecting hive No. 3 in August 2015.

As promised, though a little late, the third of my posts updating you on what’s been going on. You may, or may not, remember that in June we were attacked by hive No. 1. Since then a lot has happened so let me get you back up to speed.

After hive No. 1 attacked, resulting in 17 stings for me and over 25 stings for my wife we let the hive cool off for a day. Only for me to go out to deposit some compost in the compost pile and get stung on top of my head. The subsequent day I was stung on my ankle and on my lower eyelid, both while cutting the grass.

Enough was enough. We called a couple of bee keeping friends to come out and look at the hive. The plan was to find the queen and step on her. Then we could re-queen the hive with some new, less angry, genetics.

All three ladies, two friends and my wife, went out to the hive to find the queen. The big tough guy in the group, me, waited by the compost pile in my bee suit. I had a smoker too, just in case things got crazy. I liked to think I was the support guy who could run screaming for help in case things went awry.

They took the hive apart, swarmed by 60,000 angry bees.

I stood thirty yards away being repeatedly attacked by two very angry bees.

Turns out they found the queen, were going to capture her in lieu of squashing, but then lost her again when someone went to retrieve a queen “cage” from a car. So they installed queen excluders between the three major sections of the hive; the plan being that next time we checked the hive we could quickly figure out which hive section she was in, then we could squish her.

The feedback from our friends was that our hive was aggressive, but not quite as angry as the hives they had been splitting earlier in the day, elsewhere.

The ladies inspect hive No. 1

The ladies inspect hive No. 1

We did check the bees again in a week or two. The queen excluder trick worked, we figured out which box she was in. I’m not sure if we saw her, but the bees didn’t attack us that much. That coupled with the fact that they produced a huge quantity of honey earned her a pardon.

The hive was just too strong, and performed too well to kill her off.

We would just have to endure their eagerness to kill us.

‘Cause honey.

You know.

Hive No. 3 had been doing well meanwhile. Then at some point they lost a queen and we thought they didn’t re-queen themselves. So we actually bought a new queen since the hive was devoid of capped brood (baby bees in cells waiting to hatch). Turns out we might have had a virgin queen because the last two times we inspected the hive, we saw a queen that was not the one we bought. (The one we bought was marked).

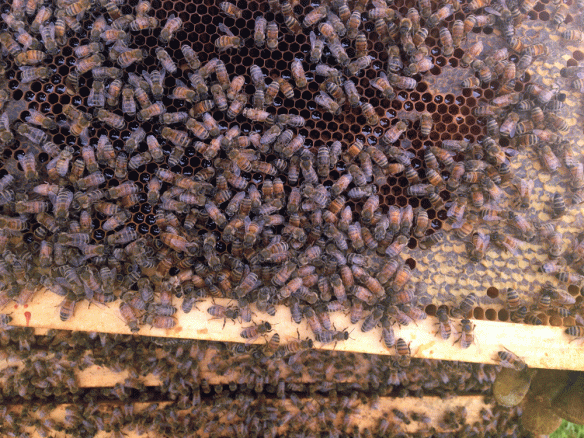
Here, you can see the "Virgin Queen" of hive No. 3.

Here, you can see the “Virgin Queen” of hive No. 3.

Harvest wise we extracted honey from hive No. 3 in early July, and from hive No. 1 in late July. All the honey is considered Spring 2015 Wildflower, and label as such by hive number. Honey never spoils, so we will keep a jar or two from each harvest. Generally speaking we label all of our honey with the proper vintage information. Theoretically down the road you could collect a variety of vintages and compare the taste. Our plan is to start a journal and record our harvests. I’d also like to start charting the bloom schedule for each year.

I don’t have the information for hive No. 3 in front of me right now, but it was an average harvest. I think I extracted six (6) frames, and got about twenty-five (25) 8oz. jars of honey.

Angry hive No. 1’s production was off the charts, or at least our new beekeeping charts. On July 25th, 2015 I extracted 15 frames full of honey. Resulting in 50 lbs. of honey (nearly 4+ gallons). We filled fifty-four (54) 8oz jars, twenty-two (22) 4oz gift jars, and three (3) 16oz bulk mason jars. Retail for the honey we got from hives No. 1 & 3 is around $600+. Not a bad take for our bees, some of whom tried to murder us.
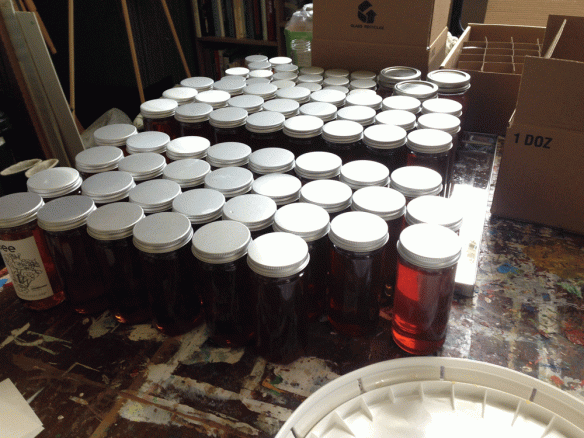
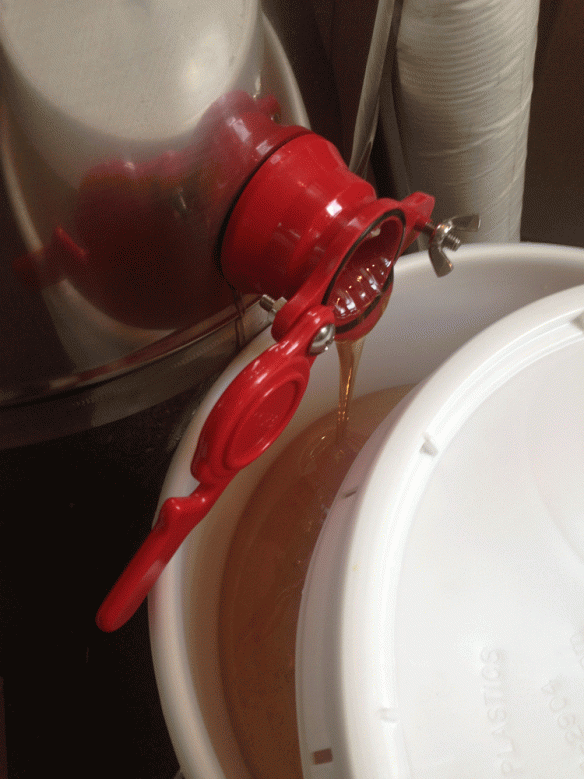
Honey flow after extracting hive No. 1 honey.

Honey flow after extracting hive No. 1 honey.

The summer 2015 haul of honey from hive No. 1. 15 frames. 54 8oz bottles, 22 4oz bottles, 3 mason jars. 50 lbs. of honey total.

The summer 2015 haul of honey from hive No. 1.
15 frames. 54 8oz bottles, 22 4oz bottles, 3 mason jars. 50 lbs. of honey total.

We’re keeping an eye on the supers. Hive No. 1 could potentially fill another in late summer and still have enough for their winter. So we could be extracting more in September. We’ll have a better idea next time we check. Hive No. 3, with their queen drama, probably is done for the year in terms of providing honey for us.

Right now golden rod is in full bloom, so there’s plenty of pollen to be had. The summer has been extremely dry though; not sure how that will affect things. Clover is pretty much done as are daisies. Cone flowers and black-eyed susans are still in bloom.

So there you have it. Your honey bee update for mid-August.

Basement drywall should start this week so stay tuned for updates on that as our basement is transformed. Should be exciting to see.

Basement Update

Tonight a quick update on the basement project. We actually have not done much since I last wrote about the electrical in June. Everything passed inspection so far – electrical, framing, insulation. Next up is drywall.

I decided that I would just hire a drywall contractor to do the basement drywall. My time is better spent working, and a contractor is going to do a better job than me anyway.

Because the house is done, there’s no way to get really long 12′ sheets of drywall into the basement so we’re using 4’x8′ sheets. We’re using USB Ultralight weight 1/2″ sheets. 58 regular white ones, and 8 green mold resistant green ones for our 900′ square foot basement. Cost was around $700 for materials and truck rental.

Our ceilings in the basement are 9′, but we’ll lose some height with the drop ceiling. To make up the rest of the difference between the ceiling height and the 8′ tall sheets, we’re going to install 10″ tall baseboard trim.

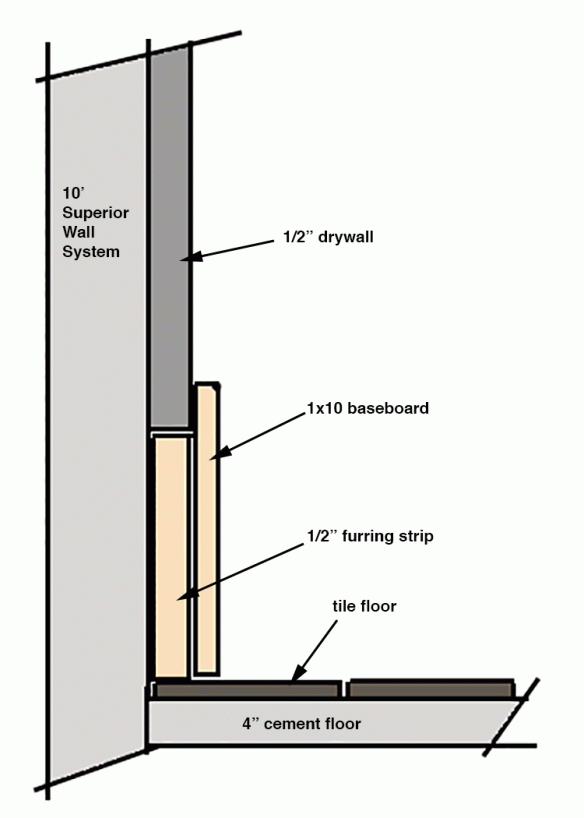
We are worried about flooding in the basement, if the sump pump ever failed during a storm. We were originally going to install cement board on the lower foot so that if the basement flooded, we wouldn’t have to rip out the drywall. Well our drywall contractor came up with a better idea. We’ll paint the baseboard all around, front and back, to create a water-resistant seal. The baseboard will then cover up the bottom 8″ below the where the drywall ends. We’ll fir it out a 1/2″ so the baseboard overlaps the drywall. Then if it ever gets wet down there we can simply unscrew the baseboard and throw it out if it’s ruined, or remove it before it gets too wet. I need to talk to my trim carpenter to see if using MDF or hardwood is preferred for the baseboard.

Detail of how I'll finish the basement walls

Detail of how I’ll finish the basement walls

It should be a pretty neat trick. And the tall baseboard will fit in with the contemporary feel of the rest of the house.

I went to Home Depot and picked up the drywall material. I was able to rent their truck and get it unloaded in an hour.

Next week we start installing drywall so I’ll share more updates then.

My rental truck with all our drywall loaded and ready to go home.

My rental truck with all our drywall loaded and ready to go home.

Smoochie

You’re right.

I didn’t write a single post in the month of July.

And August is almost half over.

So I’m turning over a new leaf and forcing myself to write again.

I actually enjoy writing. And working all the time has kind of jabbed a knife in the back of my desire to be creative or express myself. Well I’m making a conscious effort to focus on the things that bring me happiness. And make an effort to eliminate those things in my life that add no value to it. I need to go back to square one. I need to make my sphere smaller.

So hopefully this will equate to more writing. Though I can not guarantee any of it will be any good, my hope is that it will at least help ease my mind. And maybe you’ll learn something new along the way.

I’ll write three posts this week (actually write them all today, but post them on three different days) on three topics that you, my trusted reader, may find of interest.

One will update you on bees. Another will tell you what’s going on with the basement project.

But today I’ll tell you about our latest pet adventure: a fish tank.

Our youngest has wanted pet fish for some time now. Well we finally caved in a few weeks ago and got him, the whole family actually, a ten gallon fish tank. I had fish growing up as a kid so I sort of knew what we were getting into. With three cats successfully living for a number of years under our stewardship, we figured we could handle some tropical fish.

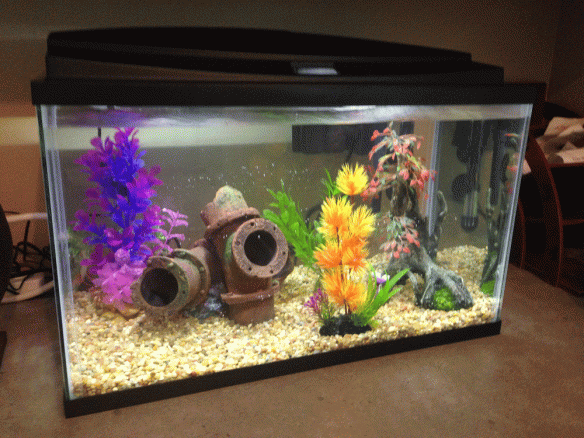
First off we went to Petsmart and bought an all-inclusive 10 gallon fish tank kit from Top Fin. It included tank, filter, heater and LED illuminated hood. Each family member picked out a fake plant, and we got a 10 lb. bag of gravel, as well as a kick ass looking rusted pipe looking decoration; it fits our industrial chic vibe we’ve got going on at the casa.

Now, before you write me letters on how awful the tropical fish industry is, let me just stop you there. Yes, it is horrific. But as you should know by now, I can’t save everything for everyone all the time. I happen to like pet fish and I think it’s a good teaching experience for the boys: animal appreciation, life, death, responsibility and more. Plus, we decided my office was the best place for the tank, so my mental health and blood pressure benefit from the calm hum of the filter and the swimming fish-ies. Here is a PETA article about how to responsibly do pet fish, if you must be irresponsible monsters such as yours truly.

We set up the tank according to the directions and a few YouTube videos. Treatment wise we used Seachem Prime and Stability to get the tap water whipped into shape for our future guests. We then let the tank sit for three weeks, running, since we had to a vacation to go on.

Our fish tank set up.

Our fish tank set up.

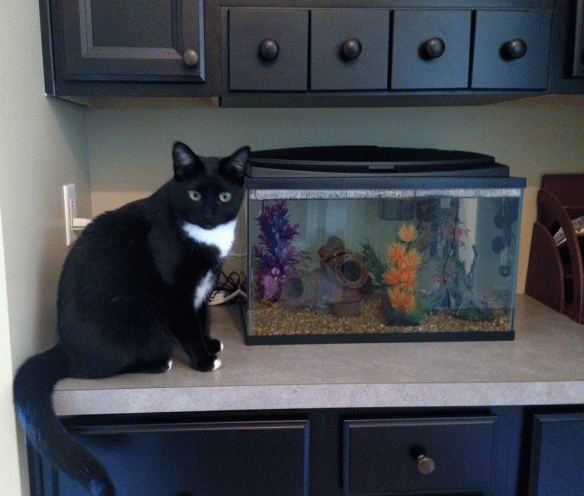
Dixon approved.

Dixon approved.

Once we got back from vacation, we went to Petsmart for our own personal “Fish Day”. The rule of thumb is one inch of fish per gallon. Both boys would get to pick a fish out, as would the wife. Now you don’t want to get all your fish at once. For our little ten gallon tank, we would want to get them in two batches about two weeks apart. We selected neon tetras, 2-3 types of guppies and an algae eater. On this fish day we came home with the algae eater (Otocinclus) and five neon tetras. The tetras like to school, so you need to get a minimum of 3-6 of them. They alone account for five inches of fish. The algae eater another 2 inches. The guppies will push us up to 10.5 inches.

It’ll be fine.

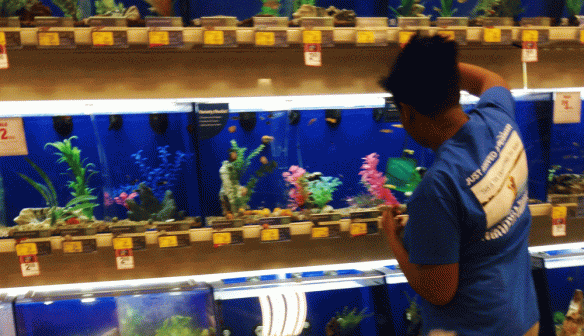
Exciting! Getting our fish!

Exciting! Getting our fish!

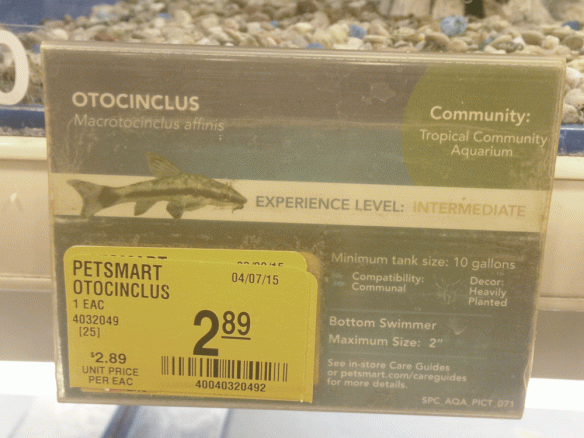
Otocinclus are a type of algae eaters.

Otocinclus are a type of algae eaters.

Happily, as family, we introduced our new swimming pets to their new home.

We named the algae eater “Mr. Bloopy” aka “Smoochie” because he “bloops” around from place to place, and sucks on the aquarium glass. Every half hour the boys were in my office looking for him. He’s really good a camouflaging himself. Then filling the house with shouts and laughter they’d exclaim when they found him. Everyone was really getting into the fish tank.

Then it all went to crap.

Late that evening, day after we got the fish, I noticed Bloop swimming irregularly. Then he dashed down to the gravel and flopped on his side.

“Oh no! Smoochie!”

I poked him a little with the net to right up. He was still breathing, but looking lethargic.

Sadly I awoke this morning to find Mr. Bloop didn’t make it through the night. His little stomach no longer moved. Inquisitive searches for his whereabouts were no longer necessary.

Bloop was dead.

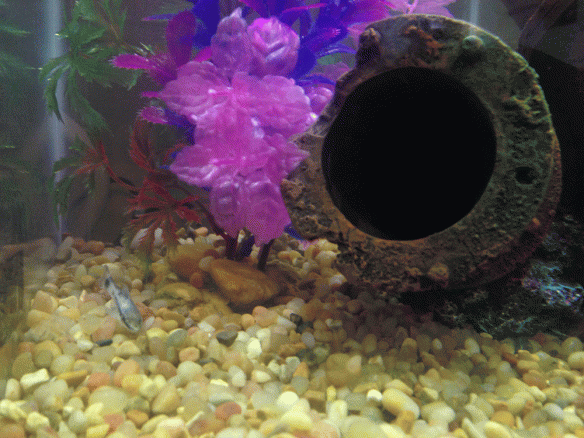
Mr. Bloopy "resting". (Sadly, I didn't get a picture of him before).

Mr. Bloopy “resting”. (Sadly, I didn’t get a picture of him before).

The boys took the news a lot better than their mother or father did. In less then 48 hours with us, he brought laughter and joy to our household. So much laughter, fun and excitement dashed.

I’m not sure what went wrong, though I know I didn’t do the one water treatment properly. I only put the Stability product in for one day instead of seven. I’m correcting that mistake this week. The tetras are doing fine, but just to be safe I got our water tested. The pH was off a little so I picked up some Tetra Easy Balance Plus and poured that in.

In two weeks we’ll get the water tested again and get the rest of the fish, including a new algae eater. And yes, we’ll probably call him Bloopy or Smoochie too.

I feel awful because it was basically my fault for not preparing the water correctly.

This afternoon we placed Mr. Bloopy’s little body in a tissue lined X-acto box and buried him beneath a maple tree back in the woods, just off of the nature trail. A small rock and bouquet of queen-anne’s lace marks his final resting spot. The sun filters down through the leaves and shines upon him warmly. I thought of burying him near the pond so he’d be near water, but we all decided that the woods up by the nature trail is a fine resting place for any critter.

It’s a nice place to rest.

I’d like my ashes spread there someday, god willing.

Then Bloop n me can swim whenever we want.

Stone marker before inscription

Stone marker before inscription

As written by a six year old: Mr Blope [Bloopy] The Fish XO XO [fish and hear emoji's] Love. I couldn't have said it better myself.

As written by a six year old: Mr Blope [Bloopy] The Fish XO XO [fish and hear emoji’s] Love. I couldn’t have said it better myself.

It’s nice to have been here at this home long enough to start building some memories, both good and bad.

And it’s nice to get back into writing.

Goodnight Mr. Bloopy. See you on the flip side.